Bits & Bobs: Natural Balance Foods
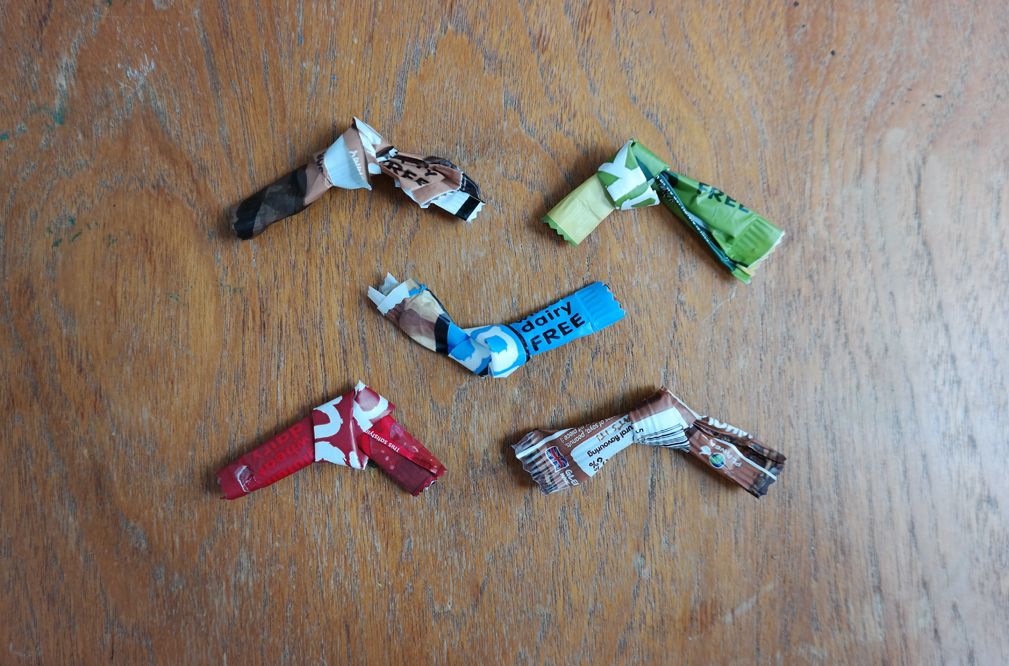
After spotting my blog a little while back Natural Balance Foods have been kind enough to send me some of these delicious naked snack raw bars! These are literally my favourite health food snacks so obviously I jumped at the chance. As a plant based vegan (and a greedy one at that) I can get through a box of snack bars quite quickly which is great as they are on the list Iron rich foods so help keep my levels balanced whilst I am rushing around running my business or teaching craft workshops out of town. We can't always be super organised an make sure there is a pack lunch ready... that's when these come in handy... and they come in fantastic flavours!
My favourite flavour continues to be Cashew Cookie, in close second place is Cafe Mocha and last but not least Bakewell Tart which is a new edition AND very tasty! If you love the idea of raw snack bars but also love baking why not try making something similar at home with this simple recipe! Mmmm
Tutorial: Funfetti Crockery
Tutorial: Funfetti crockery. Our Pinterest account has seen it’s fair share of ‘funfetti’ pinning over the last few months. From funfetti pinatas to cake decorations, there’s something so fun about this confetti trend! We decided we wanted to jump aboard the funfetti bandwagon and immediately started looking around for things to funfetti bomb! We found inspiration in an old camping plate and lots of leftover card… We are ready for summer picnic time!
You will need:
Cutting Mat
Japanese Screw Punch (or a regular hole punch)
Scrap card
An old plate
PVA glue
Paintbrush
Scissors

1. Start by taking one colour of card and snipping off small random size pieces a’la confetti stylee.
2. Repeat this process with all the colours of card you have. Making sure all the pieces are random!
3. Next take your screw punch (or hole punch) and pick a couple of colours to do some circular cuts with. Make sure you are pressing onto your cutting mat if you are using a screw punch.
4. Move all your cuttings to once side and using your paintbrush give the plate a think coating of PVA glue.
5. Once coated simple sprinkle all of your confetti pieces onto the plate, making sure you cover the whole thing. Once you’ve done that you are ready to do another coat of PVA.
6. This next coat can be a bit tricky as some of the pieces will move, but just be as patient as possible and reaarange any pieces that move too much. Once coated, leave to dry. This can take a few hours.
Inspiration: A Birthday Adventure In Nottingham
Inspiration: Birthday Adventures In Nottingham. It was both us Super Girls Birthdays this week just gone so here’s a little look at Amy’s Birthday adventures In Nottingham! We visited our first cat cafe, spotted the Super+Super craft book series in Hobbycraft and pottered about the various vintage and bric a brac shops hunting treasures. Look out thirties here we come!
Happy National Vegetarian Week!
Happy National Vegetarian Week folks!
I'm not going to lie I do slip off the vegan wagon on occasion and when I do its normally something silly like a cheese croissant... (Never meat or fish i hasten to add!)
One thing I have never missed though is chocolate as there is such a fantastic variety of vegan friendly confection available. So when Seed and Bean contacted me I jumped at the chance to give their amazing flavours a try... I was not disappointed! They are the official partners of Glastonbury Festival and have a huge variety of fair trade milk and dark chocolate. I chose dark sea salt, dark raspberry and coconut and dark ginger and orange. You can find full info about their brand here on the website and they also regularly run recipe competitions for customers to get involved and inspired about what they do!
Do you have plans for National Vegetarian week? I'd love to hear about them and what your favourite vegan treats are. x
Recipe: A Pistachio Cake for Claire.
Recipe: A Pistachio Cake for Claire. A couple of weeks back one half of S+S got married and we were all asked to bring a cake to the party… I decided to try a cake that had caught my eye in a new vegan recipe book but give it a little bit of a twist. This is my version of their totally delicious pistachio cake!
The book itself is a must have for any veggie or vegan food enthusiast and is jam packed full of great info about how to make vegan alternatives to things like eggs as well as fantastic recipes!
You will need:
160ml vegetable oil
250g caster sugar
180ml soya yoghurt
1tsp vanilla extract
2 tablespoons grated orange zest
100g shelled pistachio nuts finely chopped or blended
200g self raising flour
30g cornflour
1tsp baking powder
2tsp ground cardamon
1/4 tsp sea salt
120ml soya milk
fig preserve for in between the layers (our cake was 3 layers!)
Method: heat oven at 160 oC and line a cake tine with grease proof paper. Beat together oil and sugar until well combined (I did all the mixing in my food processor) Add the yoghurt,vanilla, and orange zest next.
In a separate bowl mix together all the dry ingredients. Now slowly add them to the wet mixtures mixing well as you go and alternating adding a little soya milk at the same time. spoon into your cake tin and bake for 45-55 minutes until a skewer inserted into the centre comes out clean.
For the icing. I made a coconut cream icing by whisking together 2 tins of coconut (the solid bit from the top of a tin of Thai coconut milk) and 400g icing sugar. I then added a few drops of bright turquoise food colouring gel and left it to chill in the fridge for an hour or 2.
Lastly I layered the sponges up with fig conserve to stick them together and spread a thick layer of icing all over the tower of sponges. It was great fun to make!
New Super+Super Craft Books Have Arrived!


The New Super+Super Craft Books Have Arrived! Author copies landed on our doorstep last week and it felt a lot like Christmas. You can buy or pre order your copies here. Here is a first look at Crochet & Paper Cutting AND an introduction to the Super+Super Series of craft books in its entirety...


This is a mega special day for us and we'd like to thank all our friends, family and wonderful followers for your continued support and to GMC for believing in our brand. A special thank you to Anna Kaisa Jormanianen for her stunning illustrations which have really brought our dream to life.

Recipe: Savoury Kale Chips
Recipe: Savoury Kale Chips. I have been meaning to have a go at baking kale chips for ages as I have several foodie friends who rave about how good they are! As a lover of all things savoury and snacking (and as I am aware that being vegan I should keep an eye on my iron intake) I have finally gotten around to trying my own variation of the health food lovers snack a la mode! And do you know what...? They were way easier and even tastier than I had expected!
You will need:
A bag of shredded kale or baby kale such as the new selection at Florette salad
olive oil
Marigold bouillon (I used the vegan, lower salt variety)
Black pepper
A baking tray and some parchment
Method: Start by removing any woody stems from your kale leaves and cut off any large leaves. Wash and pat dry! Its crucial that there is no excess moisture on our leaves.

Dress with a drizzle of olive oil (Approx 1 desert spoon) and 1 tsp bouillon powder. I used half a bag of kale.
Mix with your hands for a couple of minutes until all leaves are evenly coated and then grind over some peper
Spread leaves out onto your parchment covered tray so that none are touching
Bake for 4-5 minutes checking on their progress several times...
Remove from the oven when edges begin to brown and leaves shrink a little!
Enjoy as an alternative to crisps with a really good film or as an accompaniment to a mezze! For more kale recipes take a look here!
Subscribe to:
Posts (Atom)


