
As an
allotmenteer I don’t like to spend any money on the plot if I can avoid it. I
like the ‘make do and mend’ approach to having an allotment, using found and
gifted items to create pieces for the plot. Whilst walking around West Hove you
notice countless pallets which have been abandoned outside houses, or in skips.
For many this may be just rubbish, but once you open your eyes you can see a
plethora of uses. After all, pallets are often made of decent pine and
therefore a good wood for projects (as long as it is painted/treated it will
last for a fair while outside).
We eat a lot
of salad over the year, and I’m always looking for places to grow salad leaves
at the allotment, so we don’t have to buy the overpriced, hermetically sealed,
packets from the supermarket. After a bit of a Pinterest trawl, I came across
the idea of a vertical salad planter in order to save space and take advantage
of the many free pallets out there (it’s always worth asking before removing
anything from a skip). When using pallets in construction I like to use the
original structure wherever possible; to make life easier, but also because I
like the slight industrial look of it. As well as a pallet, you’ll also need a
length of guttering to grow the salad crops in. Again, I managed to ‘forage’
for this, so the whole make didn’t really cost me a thing; the paint I already
had after painting the shed.
First, remove alternate front panels on your pallet, so you give yourself easy access to put in the gutter sections, soil, and then plants. I found the easiest way to remove them was to use a hammer; prizing and knocking each plank out in turn.

Once the panels are removed, you need to cut the guttering to size, drill some drainage holes and push it into the gap between the front and back of the pallet. I found that each gap was different, so it’s a question of measuring for a bespoke fit and then using a hammer to tap in each section.
.jpg)
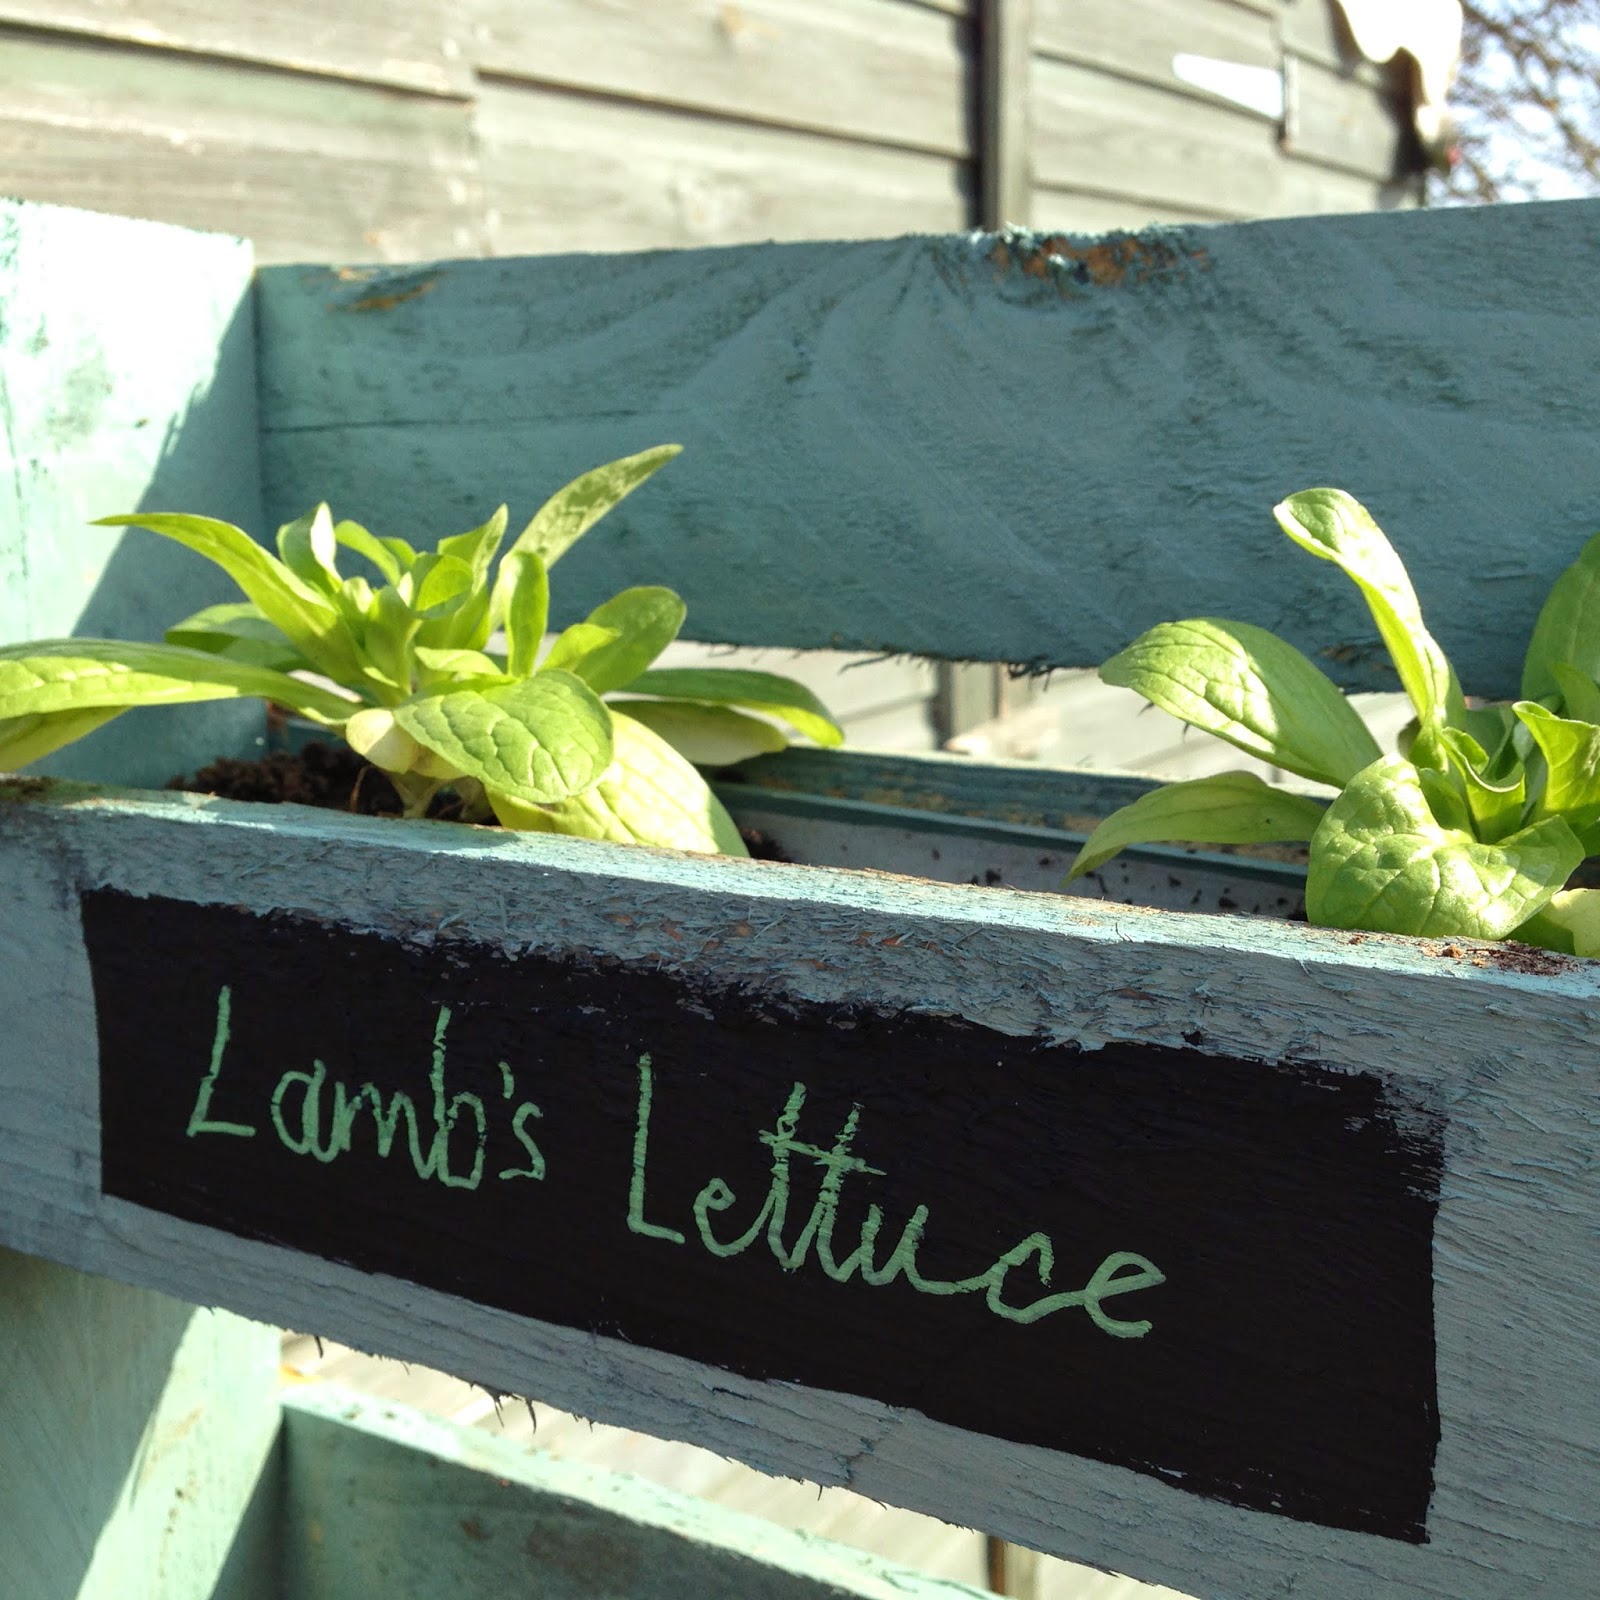
Give your
planter a lick of paint and then you’re ready to plant or sow your salad in
good compost. I chose to plant each of the four levels with a different crop,
and so used some blackboard paint and a chalk pen to label each different variety.

For more growing and recipes follow Spade Fork Spoon's amazing blog