Showing posts with label grow. Show all posts

Bits & Bobs - Kitsch Planter Update


A fun pot that has played home to many random pencils and pens for several years is now houses one of my favourite plant cutting that was a birthday gift in June. All you need is a pot, stones and or sand/grit as drainage at the bottom of your planter, soil and a rooted cutting. The broken toothbrush is a market for when I find out the name of this little chap.

Grow - Avacado Seed Plant


I first saw one of these leafy fellas months back at my friends new flat and wanted to try the technique out for myself. It has taken me a while to get it to sprout as the water kept dipping below the bottom of the seed but after a month of daily surveillance a shoot appeared and this foliage the following day! You should expect to see lots of lovely green leaves from this little gem which makes a lovely houseplant or gift.

Grow - July In Our Tiny Garden

Its safe to say that the recent rain fall though not having done much for my mood has sent the garden into growing overdrive! The chard has been the most impressive with our squash plants coming in close second as they rapidly outgrow their container! Our potatoes were quite a disappointment and I am blaming poor soil quality and maybe not enough light?... Oh the trials and tribulations of urban gardening! Take a look and let me know if you have any tips.


I will leave you with a few of my favourite garden related blogs. Happy Growing!

What You Sow
Alys Fowler
Hedvig Murray Designs

Grow - June Urban Garden Update and Teapot Mint


Its June and the garden is finally starting to fill out a little so I thought i'd give you a photo update. If you didn't know already spending  time in our tiny garden is one of my most favorite and relaxing things to do. Even catching a few minutes in the morning before Daniel is awake whilst I sip the first tea of the morning somehow makes me feel positive about the day ahead! Our rainbow chard though attacked by snails a little has gone wild, the squash grown from Riverford veg box seeds is safely tucked away in the new box bed we finally finished and flowers are blossoming on everything! I have tried a bit of 'companion' growing and have mixed wild flowers in between my tomato and leek plants as well as spinach in with the garlic and beans. Now i'm just willing the sun to shine and the bees to come say hi!
Happy Garden times x

Grow - What's Growing In My Garden (pt.1)

This post is a peek at what I am currently growing in my very small garden this year... so far! For me the idea of being self sufficient, off the grid and living some kind of 'Good Life' is most definitely what I aspire to. Growing up with a brilliant family of gardener's, carpenters, thrifter's and hoarders has set me in good stead in terms of passing down some valuable practical skills. I also went to a Steiner Waldorf school during my formative younger years which I am very grateful for and has definitely shaped me into the person I am today.

So, I love growing things. Plants, flowers but mainly vegetables because my other love as you may have gleaned from this blog is cooking and inventing recipes. For Christmas my beau gave be two fantastic books from the wonderful What You Sow shop. This was fuel to my urban gardening fire! 1, The Edible balcony by Alex Mitchell and 2, The Thrifty Gardener by Alys Fowler.

Since march I have been collecting takeaway boxes and pots from my veg box and starting seeds in my very small greenhouse and on whatever window sill that had a spare inch! My plan was to post photos at every stage of my seedlings but who has time for that. You can however follow my Instagram to catch up on regular posts about what I have been growing.

My list of what is growing so far includes; Potatoes, broad beans, spinach, mixed salad, round head lettuce, coriander, basil, tomatoes, garlic, leek, spring onions, squash and bell peppers (seeds I kept from Riverford veg box) strawberries, beetroot and chard. A few bought as establish seedlings but most from seed. The idea was to grow things to supplement our weekly veg box but I just get carried away! For me being in our little garden is the best kind of meditation there is. In fact after a bad day last week I came home and built the small raised bed pictured below. Joy!


I'd love to hear about your urban gardening experiences, tips and hints. Do get in touch x

Guest Post - Pallet Vertical Salad Planter DIY - Simon of Spade Fork Spoon

As an allotmenteer I don’t like to spend any money on the plot if I can avoid it. I like the ‘make do and mend’ approach to having an allotment, using found and gifted items to create pieces for the plot. Whilst walking around West Hove you notice countless pallets which have been abandoned outside houses, or in skips. For many this may be just rubbish, but once you open your eyes you can see a plethora of uses. After all, pallets are often made of decent pine and therefore a good wood for projects (as long as it is painted/treated it will last for a fair while outside).

We eat a lot of salad over the year, and I’m always looking for places to grow salad leaves at the allotment, so we don’t have to buy the overpriced, hermetically sealed, packets from the supermarket. After a bit of a Pinterest trawl, I came across the idea of a vertical salad planter in order to save space and take advantage of the many free pallets out there (it’s always worth asking before removing anything from a skip). When using pallets in construction I like to use the original structure wherever possible; to make life easier, but also because I like the slight industrial look of it. As well as a pallet, you’ll also need a length of guttering to grow the salad crops in. Again, I managed to ‘forage’ for this, so the whole make didn’t really cost me a thing; the paint I already had after painting the shed.

First, remove alternate front panels on your pallet, so you give yourself easy access to put in the gutter sections, soil, and then plants. I found the easiest way to remove them was to use a hammer; prizing and knocking each plank out in turn.


Once the panels are removed, you need to cut the guttering to size, drill some drainage holes and push it into the gap between the front and back of the pallet. I found that each gap was different, so it’s a question of measuring for a bespoke fit and then using a hammer to tap in each section. 


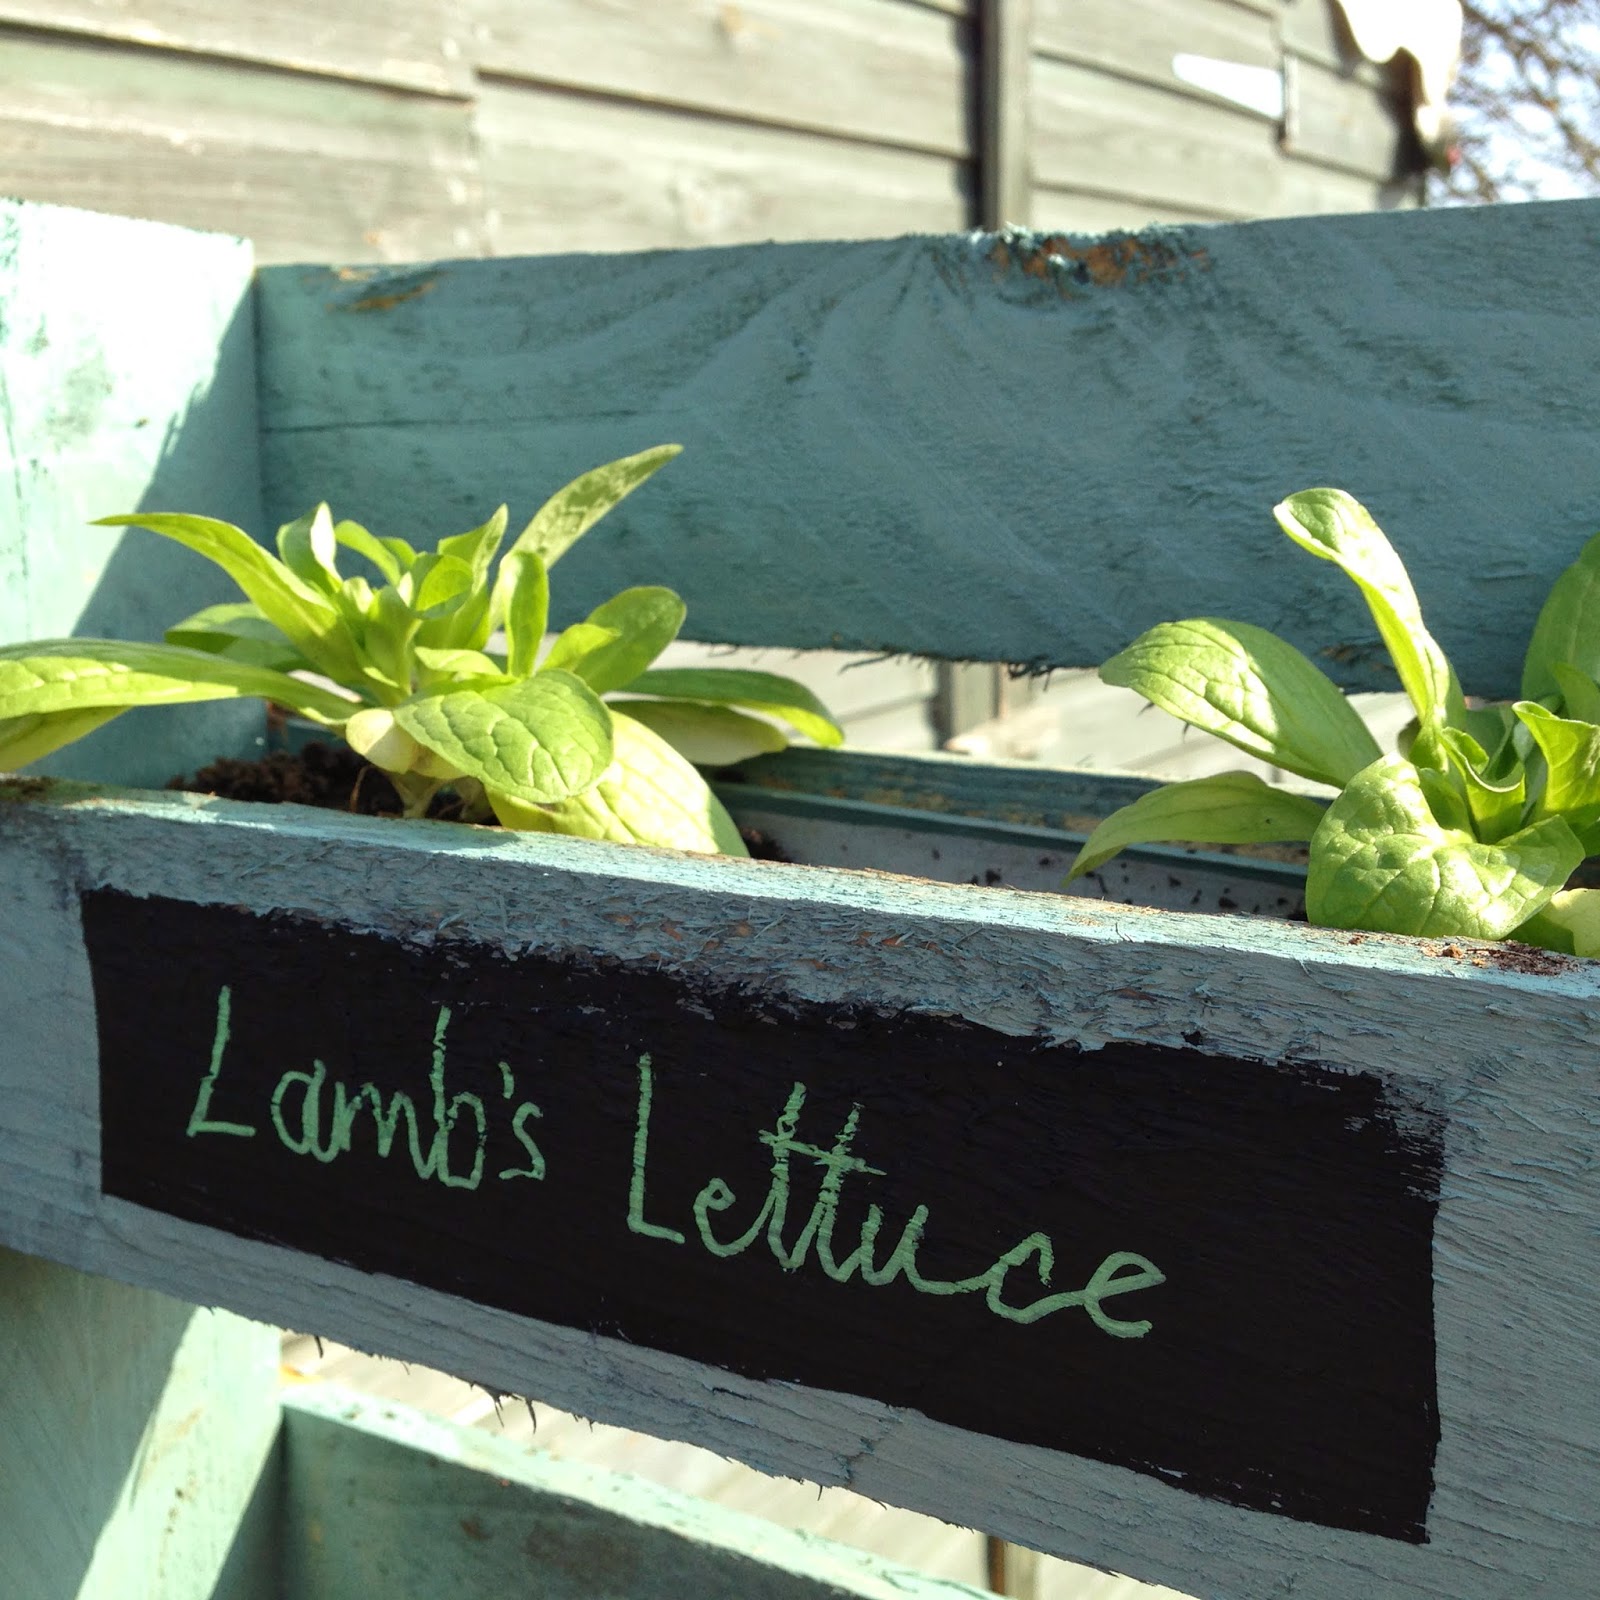
Give your planter a lick of paint and then you’re ready to plant or sow your salad in good compost. I chose to plant each of the four levels with a different crop, and so used some blackboard paint and a chalk pen to label each different variety.


For more growing and recipes follow Spade Fork Spoon's amazing blog