Showing posts with label guest post. Show all posts

Guest Post - Home Made Bounty Bars

I met Laura and Tia a few years back when they attended several craft classes I ran in Brighton, I could tell from the off these two were not just your average novice crafters but had big plans for their newly found skills. Over the last few years we have become close friends and crafting allies! These Ladies really do take making to the next level and are a constant inspiration. I mean, running a successful blog with 3 children under 2 years old between them in tow! Pretty fantastic i'd say.


This is a lovely post with a recipe that can be altered slightly for vegans readers too... Replace condensed milk with the cream of 1 can of coconut milk whipped with 1oz icing sugar and the milk chocolate with dark/dairy free, Hey presto! 
A x


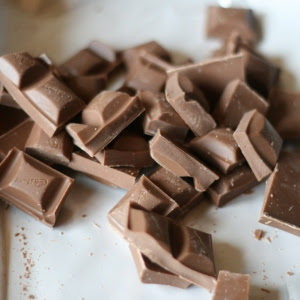
This has to be the easiest chocolate bar replica ever. We've tried Daim BarsCreme Eggs and now it's the turn of the Bounty Bar. The great thing about this non-bake recipe, is how quickly they can be made.

To make 12 of these bars you will need:

  • 1 can of condensed milk
  • 200g desiccated coconut
  • 300g milk chocolate


 Begin by mixing the condensed milk and desiccated coconut together in a bowl using a spoon.


Scoop out a spoonful of the mixture and shape it into a bar, repeat for all 12 bars placing them on a lined baking tray. Pop them in the fridge for 30 minutes, for the bars to set a little.


Melt half the chocolate in a bowl over the hob. Allow to cool but not harden, then spread over the bars. Leave to harden in the fridge.

IMG_4032

Melt the remaining chocolate, then spoon it onto the bars, filling in any gaps where you can see coconut, then smooth the top and sides with a knife.


Pop in the fridge to harden again - and you're ready to eat.


For more baking and craft projects visit our blog www.littlebuttondiaries.com 

Follow us on twitter @LButtondiaries


Guest Post - Pallet Vertical Salad Planter DIY - Simon of Spade Fork Spoon

As an allotmenteer I don’t like to spend any money on the plot if I can avoid it. I like the ‘make do and mend’ approach to having an allotment, using found and gifted items to create pieces for the plot. Whilst walking around West Hove you notice countless pallets which have been abandoned outside houses, or in skips. For many this may be just rubbish, but once you open your eyes you can see a plethora of uses. After all, pallets are often made of decent pine and therefore a good wood for projects (as long as it is painted/treated it will last for a fair while outside).

We eat a lot of salad over the year, and I’m always looking for places to grow salad leaves at the allotment, so we don’t have to buy the overpriced, hermetically sealed, packets from the supermarket. After a bit of a Pinterest trawl, I came across the idea of a vertical salad planter in order to save space and take advantage of the many free pallets out there (it’s always worth asking before removing anything from a skip). When using pallets in construction I like to use the original structure wherever possible; to make life easier, but also because I like the slight industrial look of it. As well as a pallet, you’ll also need a length of guttering to grow the salad crops in. Again, I managed to ‘forage’ for this, so the whole make didn’t really cost me a thing; the paint I already had after painting the shed.

First, remove alternate front panels on your pallet, so you give yourself easy access to put in the gutter sections, soil, and then plants. I found the easiest way to remove them was to use a hammer; prizing and knocking each plank out in turn.


Once the panels are removed, you need to cut the guttering to size, drill some drainage holes and push it into the gap between the front and back of the pallet. I found that each gap was different, so it’s a question of measuring for a bespoke fit and then using a hammer to tap in each section. 


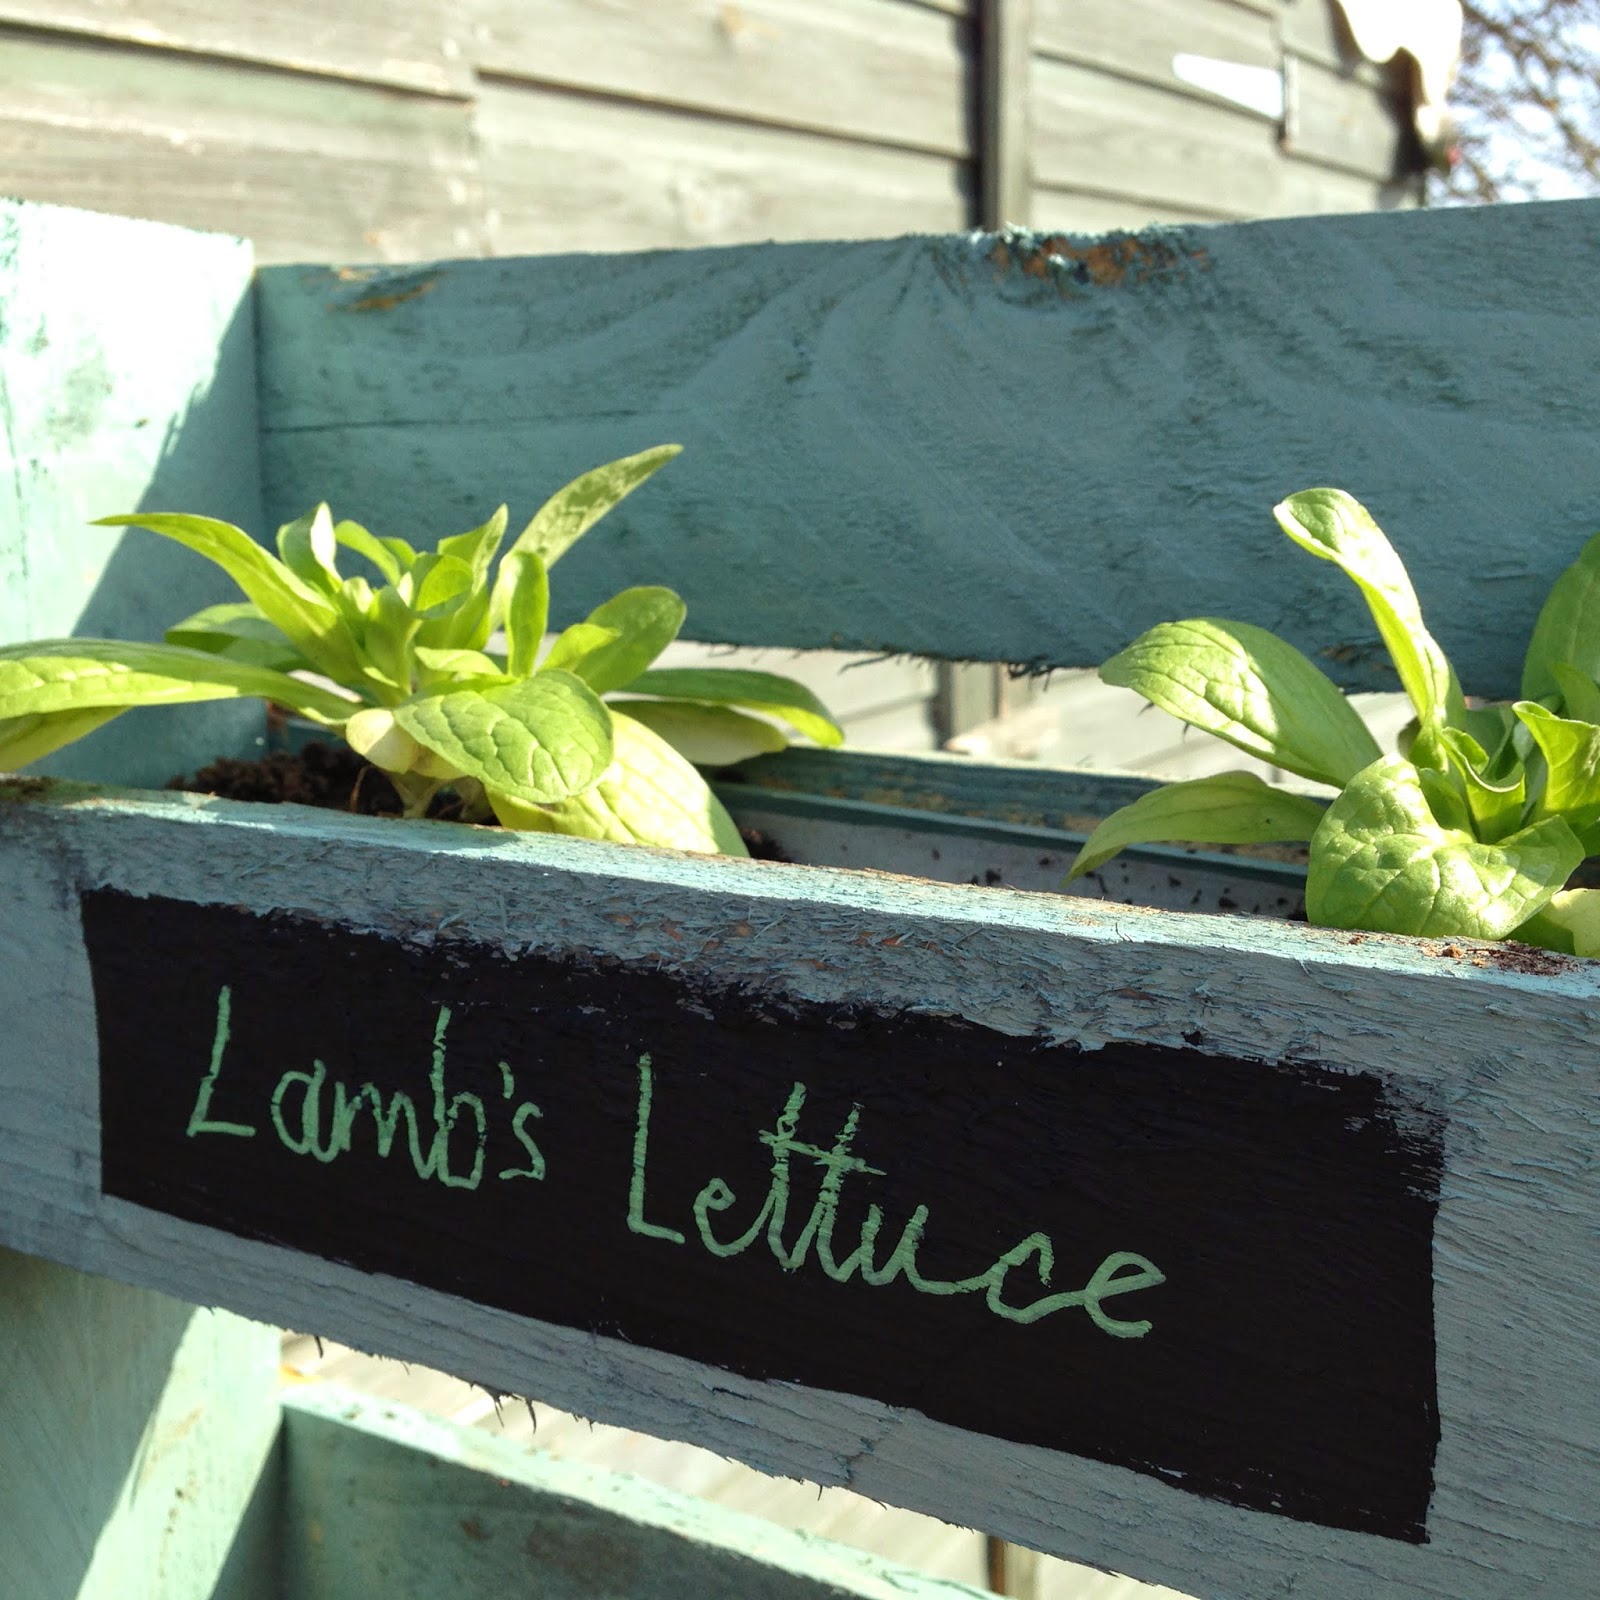
Give your planter a lick of paint and then you’re ready to plant or sow your salad in good compost. I chose to plant each of the four levels with a different crop, and so used some blackboard paint and a chalk pen to label each different variety.


For more growing and recipes follow Spade Fork Spoon's amazing blog